


Your New Go-To Weeknight Dinner
Looking for a delicious twist to your weeknight dinners? This Orecchiette with Rapini and Italian Sausage recipe is not only simple to prepare but also brimming with flavours that promise to transport your taste buds straight to Italy. The orecchiette scoops up every bit of the rich, spicy sausage and the rapini adds just the right touch of earthiness.
Whether you’re cooking for one or feeding a crowd, this dish will impress anyone who takes a bite.
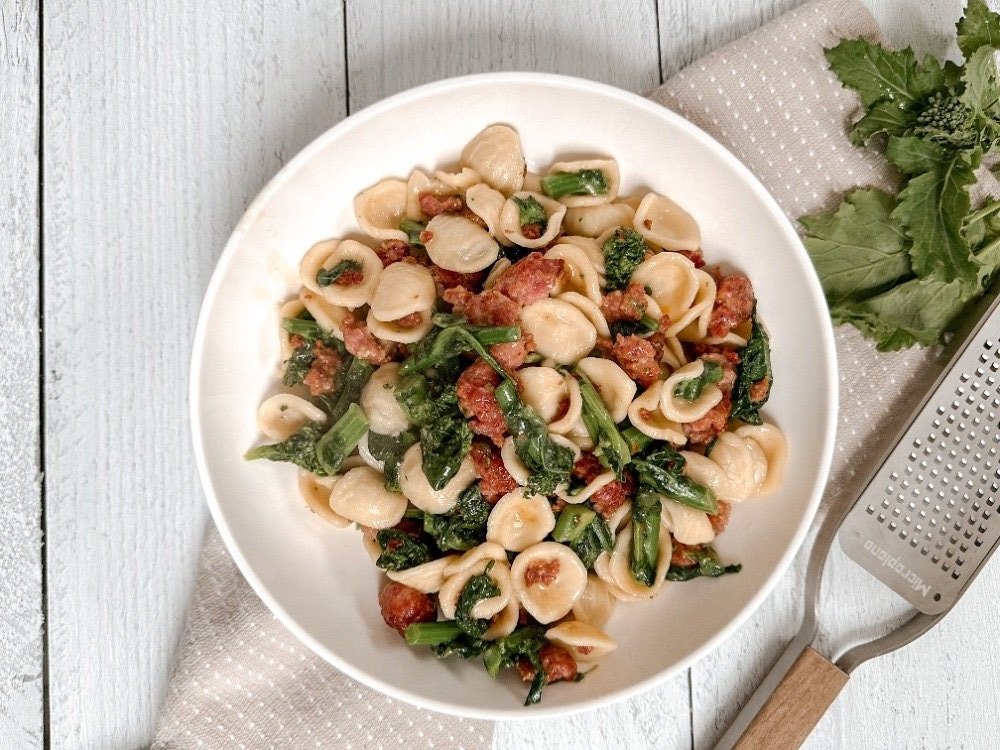
Orecchiette with Rapini and Italian Sausage
Prep 10 minutes
Cook 25 minutes
Total 35 minutes
Servings 4-6
Ingredients
1 lb mild Italian sausage (about 4 links), casings removed
1 bunch rapini (broccoli rabe), washed and 2" trimmed off stems
454g (1 lb) uncooked orecchiette
2 Tbsp olive oil, plus more for serving
3 cloves garlic, minced or finely chopped
¼ tsp crushed red pepper flakes
½ cup grated Parmigiano Reggiano or Pecorino Romano cheese
Salt and freshly ground black pepper to taste
Instructions
Bring a large pot of salted water to a boil. Add trimmed rapini hen cook for 3 minutes. Use tongs to transfer to an ice bath, and return the water in the pot to a boil.
Add the orecchiette to the boiling water and cook according to package instructions until al dente. Before draining, reserve 1 cup of the pasta water.
In a large pan, heat 2 Tbsp olive oil over medium-high heat. Add the sausage, breaking up with the back of a wooden spoon, then cook until browned on all sides, about 5-7 minutes. Add minced garlic and crushed red pepper flakes, then cook 1 minute more.
Drain the rapini from the ice bath then give it a rough chop to bite-size pieces. Add rapini and cooked pasta to the cooked Italian sausage in the pan. Stir in about ½ cup grated Parmesan (or Pecorino) and ½ cup reserved pasta water, then taste and adjust seasoning as needed.
Serve in bowls with a drizzle of olive oil, additional grated cheese, a pinch of salt, and lots of freshly ground black pepper.
Notes
Store leftovers in an airtight container in the fridge for up to 3 days.
The best way to reheat pasta is in a pan over medium heat. Add a little bit of olive oil to the skillet and cook the pasta until warmed through. You can also reheat pasta in the microwave, but be careful not to overcook it because no one likes mushy pasta.