veggies

Recipe: Roasted Garlic And Butternut Squash Soup

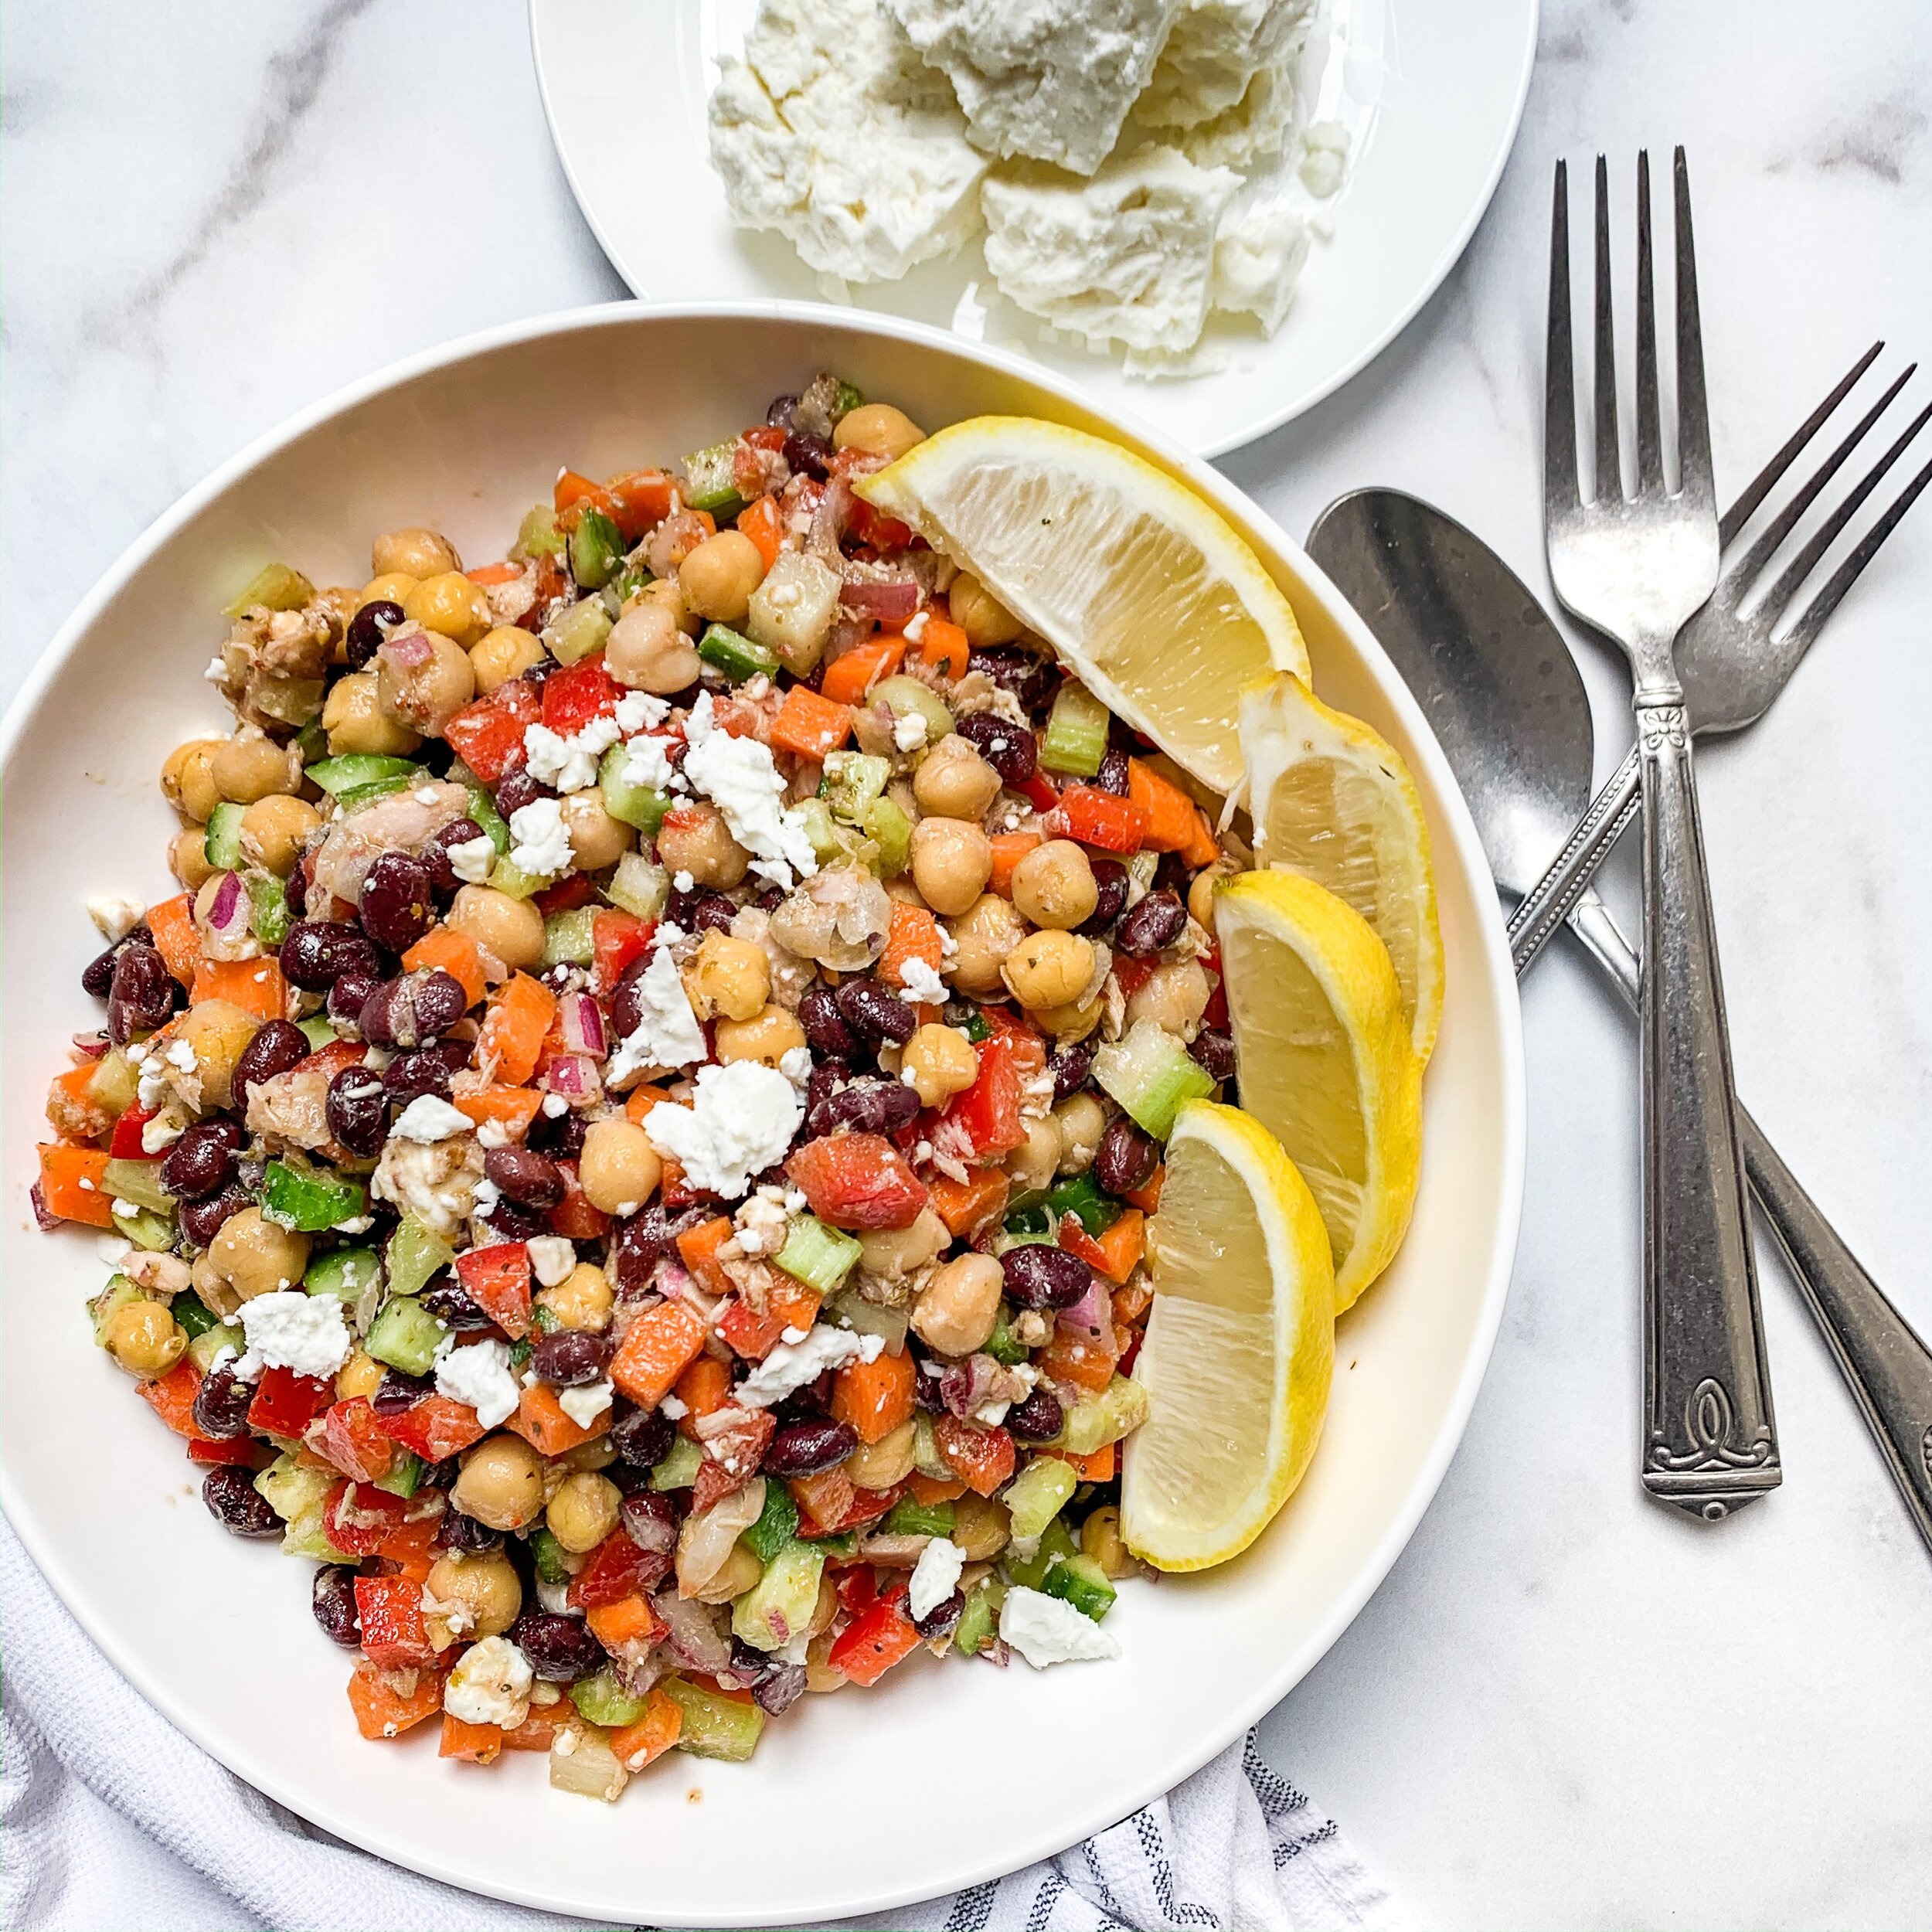
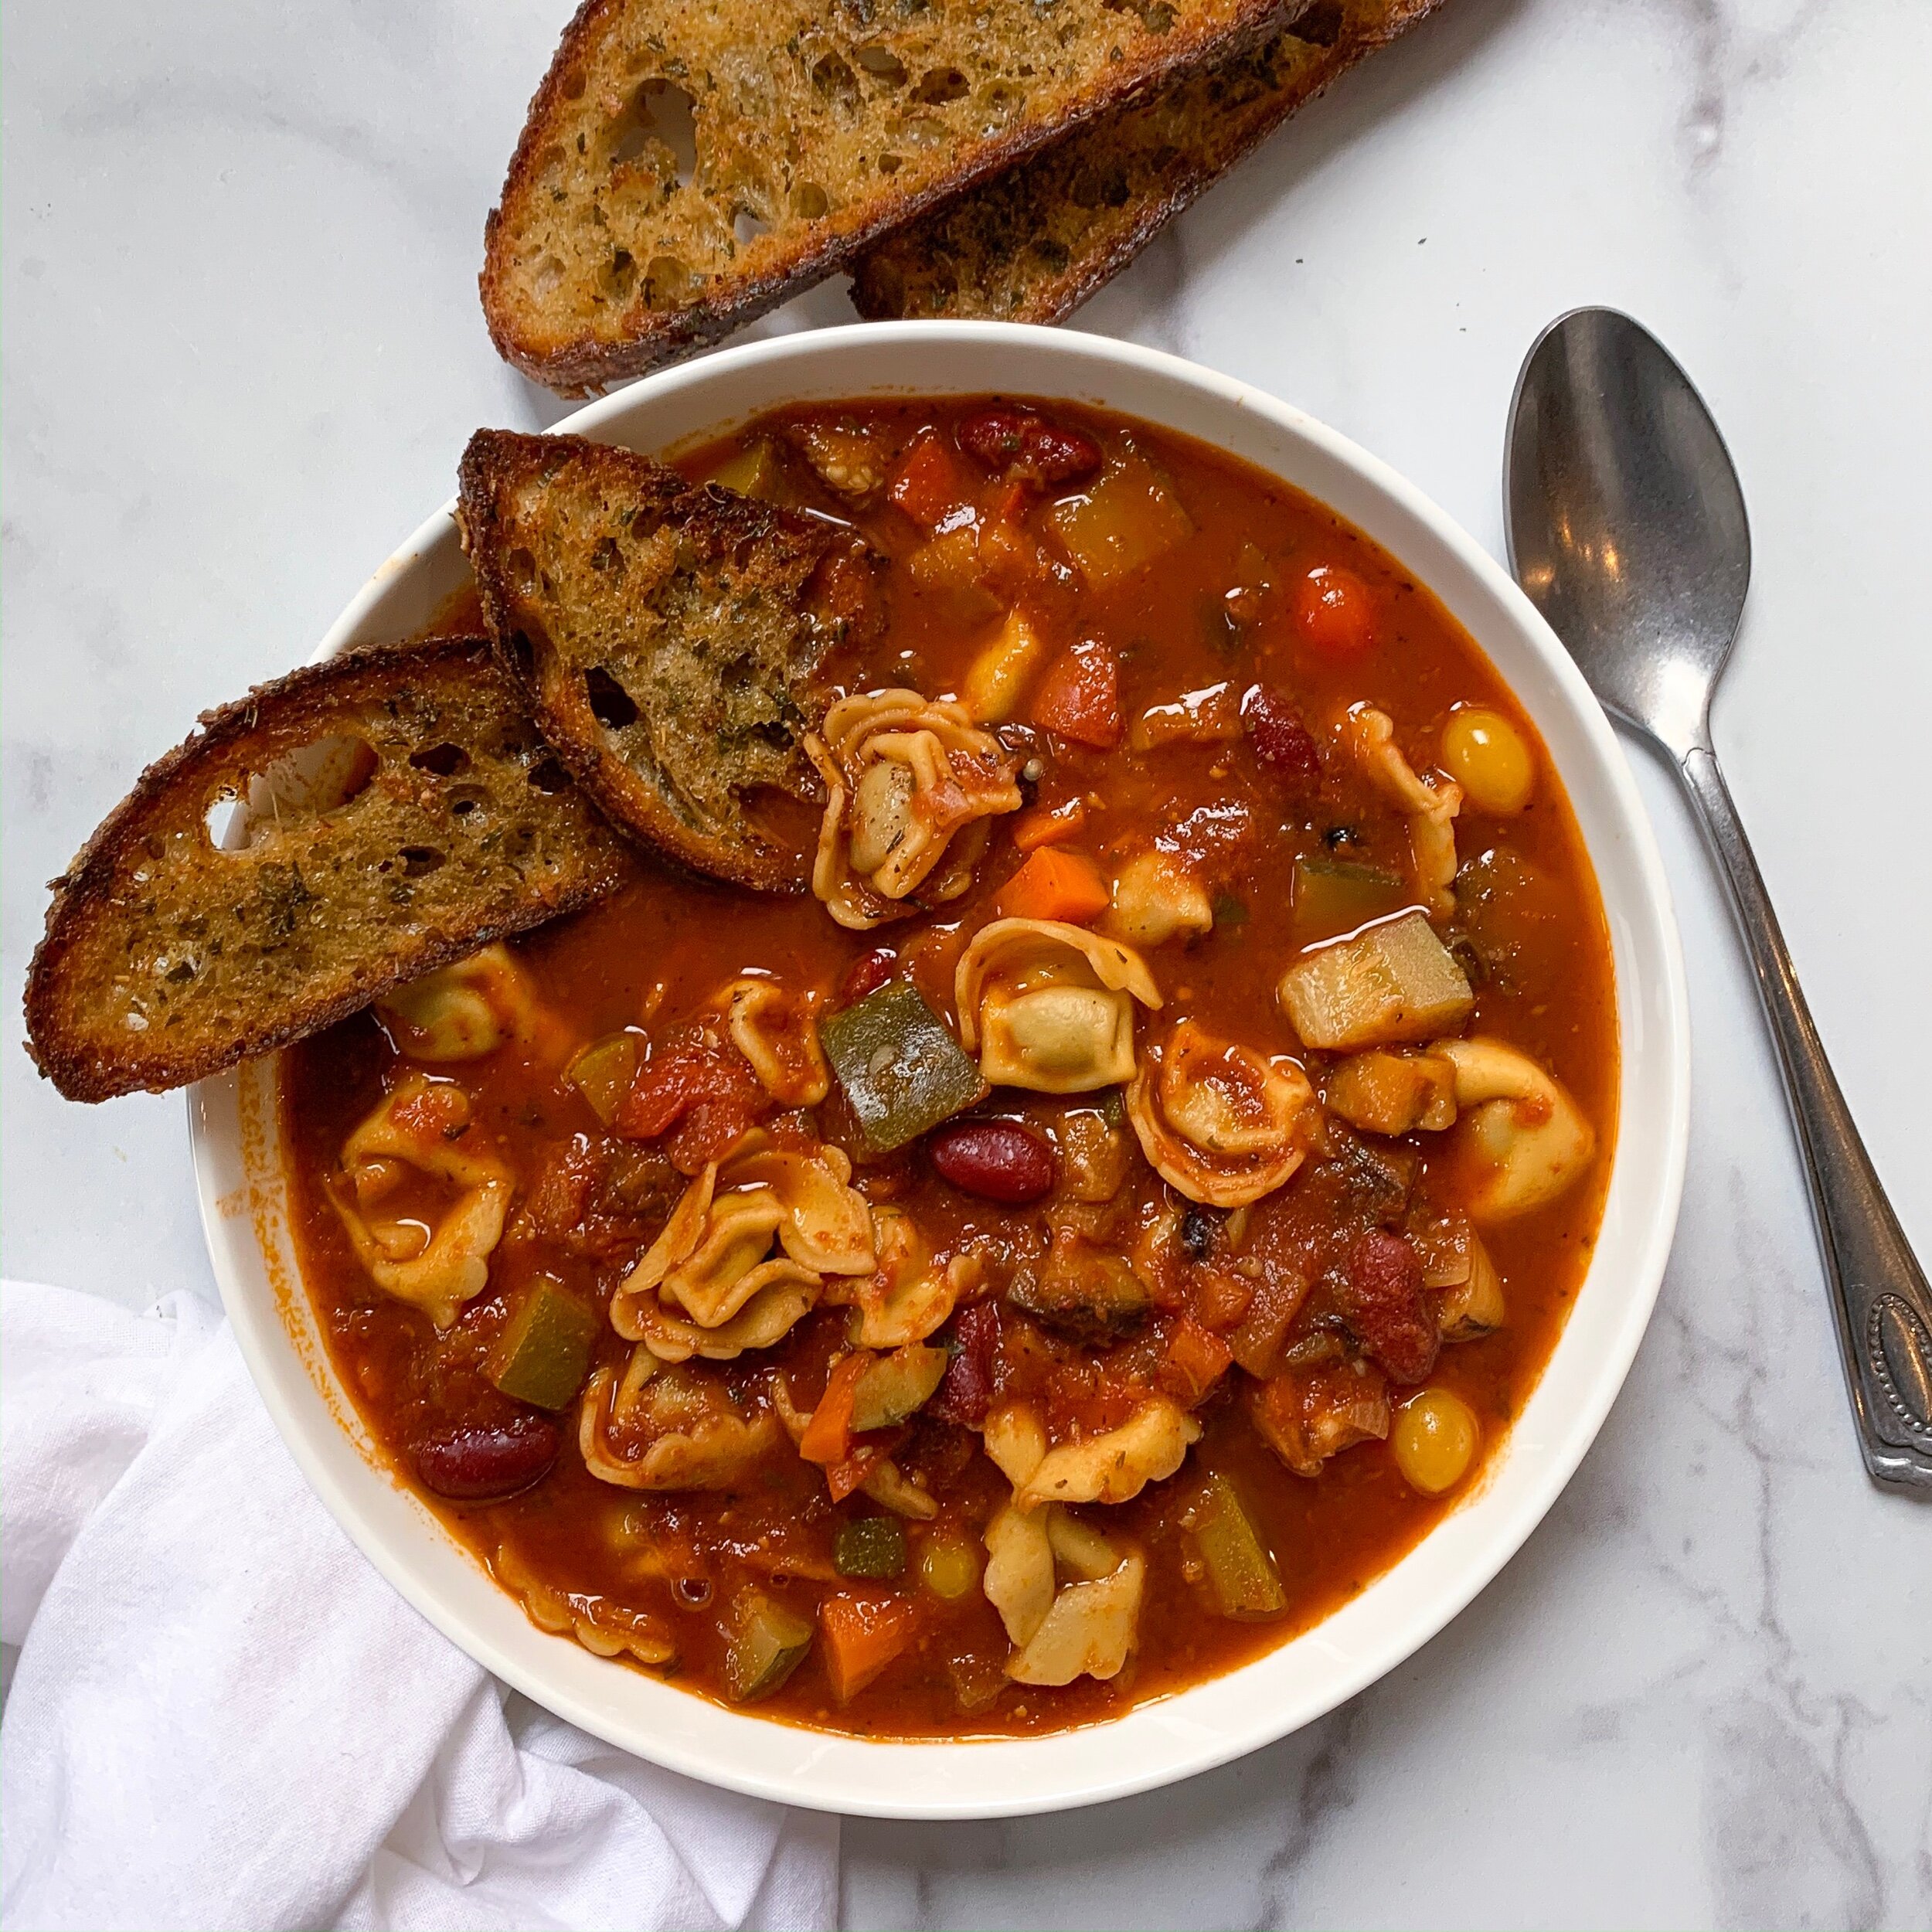
HOLY GOURD! It’s officially “Sweater Weather” here in Canada and that means welcome back soup season! This roasted garlic and butternut squash soup checks all the cozy autumn boxes for me. Drizzle a little chili oil over top and bring that warm comforting hug factor to the dish.

Now go on and make this show stopping soup. If you’re feeling like you need a little crunch, check out my crispy sour dough bread crouton recipe. Enjoy!

A bowl of soup in the centre topped with a drizzle of spicy chilli oil, a dollop of sour cream, a sprinkle of shelled pumpkin seeds and a few flakes of fresh parsley.Three smaller bowls around the soup with topping options and a gold spoon.

Roasted Garlic And Butternut Squash Soup

Prep Time: 10 minutes
Cook Time: 1 hour
Total Time: 1 hour 10 minutes
Serves: 6
Author: Mary Mammoliti / Kitchen Confession / kitchenconfession.com

INGREDIENTS

  • 1 large butternut squash halved, seeded and scored

  • 1 honey crisp apple, halved

  • 1 vidalia  onion, peeled and quartered

  • 2 heads garlic, tops cut off

  • 2 tablespoons extra virgin olive oil, plus extra to drizzle over garlic.

  • 3 sprigs thyme, stems remain ved

  • 1 tsp paprika

  • 1/2 teaspoon nutmeg

  • 1/2 teaspoon ground ginger

  • 3 tablespoons salted butter

  • 5 cups vegetable stock

  • 1/2 cup of heavy cream

INSTRUCTIONS

  1. Preheat oven to 400°F. Line a baking sheet with parchment paper.

  2. To a baking dish or rimmed sheet pan add the squash, onion, garlic to the baking sheet, cut sides facing up. Brush the cut sides of the vegetables with olive oil and season with paprika, salt, pepper and thyme.

  3. Cut the tops off your garlic bulbs and place them onto of a piece of aluminum foil (large enough to warp the garlic). Drizzle some olive oil over top, a pinch of salt and pepper then fold all corners together and twist to seal the package. Place the two garlic parcels onto the baking sheet.

  4. Turn the squash and apple cut-side down onto the sheet pan and roast for 30-40 minutes, until the squash is fully cooked. If the onion and garlic are roasted before the squash, remove them from the sheet pan and return the squash to the oven and allow it to cook for an additional 10 minutes if needed.

  5. Remove from oven and allow to the squash and roasted garlic to cool. Then scoop out the roasted squash, squeeze out the roasted garlic, remove the peel from the apple and add everything including the onion into the bowl of a food processor or powerful blender (I used my Vitamix). Blend until smooth.

  6. In a large stockpot, pour in the squash puree, add butter, ginger, nutmeg, and vegetable stock. Bring to a boil and simmer gently for 15-20 minutes. Remove from heat and whisk in the heavy cream.

  7. Garnish with a dollop of sour cream, a drizzle of spicy chilli oil, and a sprinkle of pumpkin seeds and serve immediately.

Print Friendly and PDF

Recipe: Grilled Mushroom Ricotta Sandwich

It’s the first day of school and I’m sure there were tears shed, parents rejoicing and teachers settling in for another year.

So let’s Celebrate OR Eat Your Emotions (whichever one works for you 😁)⁣⁣

Try my Grilled Mushroom Ricotta Sandwich! This would be the Italian relative to the North American Grilled Cheese.⁣⁣

PHOTO DESCRIPTION: A golden brown sliced sandwich filled with creamy white ricotta cheese and caramelized mushrooms. The bread is stacked and a few crumbs and a dollop of ricotta cheese give the picture a sense of imminent consumption.

PHOTO DESCRIPTION: A golden brown sliced sandwich filled with creamy white ricotta cheese and caramelized mushrooms. The bread is stacked and a few crumbs and a dollop of ricotta cheese give the picture a sense of imminent consumption.

Grilled Mushroom Ricotta Sandwich

Prep time: 5 minutes
Cook time: 10 minutes
Total time: 15 minutes
Servings: 1
Author: Mary Mammoliti / Kitchen Confession

INGREDIENTS 

  • Kosher salt⁣

  • 1 small onion thinly sliced

  • 4 mushrooms thinly sliced

  • 1 tablespoon extra-virgin olive oil⁣

  • Oregano to taste

  • Ricotta cheese

  • 2 slices of crusty bread (sour dough, whole wheat)

INSTRUCTIONS

  1. On medium- high heat sauté your sliced mushrooms, a small sliced onion, some salt, pepper, and oregano in some EVOO and cook that down until the onions are soft and the mushrooms are golden (about 5 -7 minutes) pour into a bowl and set aside.⁣⁣

  2. Wipe down the pan and toast two slices of crusty bread (sourdough, whole grain etc) and lightly butter one side of each slice of toast. ⁣⁣

  3. Place the buttered side down top with a few generous scoops fresh ricotta cheese, top with the sautéed mushrooms and onions, cap it off with the second slice of toast (buttered side out. ⁣⁣

  4. Place on the hot pan and grill for a minute, flip, and cook for an additional minute. ⁣⁣

  5. Remove from the pan, cut in half. Take a giant bite and let the excess spill out and down your face. Don’t worry I won’t tell if you won’t 😉

Print Friendly and PDF

Recipe: Lite Balsamic Vinaigrette

I love a good balsamic vinegar and if I could I would add a little into every dish I make. ⁣

The slight sweetness you get from the juice of “grape must” (in Italian, “mosto”), or the hint of oak from aging the “mosto” in wood barrels are the reasons I can’t get enough of it. ⁣

How to Buy a Good Balsamic Vinegar? Which balsamic vinegar is best for salad? Should balsamic vinegar be refrigerated?⁣

You know I live for food talk so If you want these questions answered or have a question of your own add it in the comments of my Instagram and let’s talk 😁⁣

For now I’ll leave you with the recipe to my Lite BALSAMIC VINAIGRETTE⁣

PHOTO DESCRIPTION: Rich brown balsamic vinaigrette with visible herbs ready to spread on your salad of choice contained in a clear jar. A slight spill and spoon lay to the right of the jar on a white washed wooden table.

PHOTO DESCRIPTION: Rich brown balsamic vinaigrette with visible herbs ready to spread on your salad of choice contained in a clear jar. A slight spill and spoon lay to the right of the jar on a white washed wooden table.

Lite Balsamic Vinaigrette

Prep time: 5 minutes
Cook time: 0 minutes
Total time: 5 minutes
Servings: 1
Author: Mary Mammoliti / Kitchen Confession

INGREDIENTS 

  • 1/4 Cup Balsamic Vinegar⁣

  • 2 Tbsp Extra Virgin Olive Oil⁣

  • 2 Tbsp Water⁣

  • 1 Tbsp Honey⁣

  • 1 Tbsp Dijon Mustard⁣

  • 1/2 Tsp Oregano⁣

  • 1/4 Tsp. Thyme ⁣

  • 1/2 Tsp Sea Salt⁣

  • Fresh cracked Pepper to Taste⁣

INSTRUCTIONS

  1. Combine all ingredients in a bowl

  2. Add to salads or as a sauce for your favourite sandwich

Print Friendly and PDF

Recipe: Roasted Acorn Squash

Just when I thought I had finished cooking for the day this little beauty caught my eye and I just had to bake it up. Perfect addition to any meal and it’s the easiest recipe around.

FullSizeRender.jpg

ROASTED ACORN SQUASH

INGREDIENTS

  • 1 acorn squash, washed

  • 2 tbsp olive oil

  • 1 tsp garlic powder

  • Salt and pepper to taste

.

INSTRUCTIONS

  1. Preheat oven to 400°F * Cut the squash in half, using a spoon scrape out the insides, and slice into 1/2" half moons.

  2. Add the olive oil, garlic powder, salt and pepper. Toss to coat. * Lay the squash out on a baking sheet. Bake for 30 minutes until fork tender and golden in colour.


Print Friendly and PDF

Recipe: Spicy Roasted Pumpkin Seeds

A snacker [someone who eats lightly or between meals], a snack [a small amount of food eaten between meals] .

Raise your have if you’re a snacker! 🙋🏻‍♀️ OH I SEE YOU! Now repeat after me - .

“I like good snacks and I can not lie,

You other snackers can't deny,

That when the food goes in an itty bitty plate,

And goes right in your face

You get sprung..”

.

No reason, I just wanted someone to sing with me. Now sit back and relax with a bowl of SPICY ROASTED PUMPKIN SEEDS

FullSizeRender.jpg

Spicy Roasted Pumpkin Seeds

INGREDIENTS

  • 2 cups pumpkin seeds

  • 1 1/2 teaspoons olive oil

  • 1/2 teaspoon garlic powder

  • 1/2 teaspoon cayenne

  • 1/4 teaspoon sea salt

  • 1/4 teaspoon paprika

  • parchment paper

INSTRUCTIONS

  1. Bake at 300 degrees for 40 minutes, taking them out and stirring/flipping halfway through. Let cool for a minute and enjoy!

Print Friendly and PDF

Recipe: Chick Chomp Salad

We’ve all heard of TikTok but have you heard of ChickChomp? Wait! WHAT? Oh yes friends, buckle up because you are about to get BLOWN AWAY! 

This ChickChomp Salad will have you smiling and dancing with every bite. I know what your thinking “exaggerate much Mary?” And yes, yes I do but I did get you thinking about something other than the sadness and worry of our current state, am I right? 

Give your mind a break and escape into a world of colour, zing, and a whole lotta Chicka-Pow-WOW! Get your mind out of the gutter you crazy kids I’m singing the praises of CHICKPEAS! 

Who’s joining in on the #ChickChomp challenge and eating Chickpeas? Share your meals people and let’s spread the joy of food! 

IMG_8455.jpeg

Chick Chomp Salad

Total Time: 20 minutes 
Serves: 6
Author: Mary Mammoliti / Kitchen Confession

INGREDIENTS 

SALAD

  • 1 can 540ml chickpeas (about 2 1/4 cup), drained and rinsed 

  • 1 can 540ml black beans (about 2 1/4 cup), drained and rinsed 

  • 1 can flacked tuna in water, drained

  • 1 large carrot, peeled and diced 

  • 1 red bell pepper, seeded and diced

  • 3 mini cucumbers, diced

  • 3 stalks celery, diced 

  • 1/4 red onion, diced 

  • 1/3 cup feta, crumbled

DRESSING

  • 1/4 cup olive oil

  • 2 lemons, juiced 

  • 1-2 tablespoons red wine vinegar

  • 1 tablespoon Greek seasoning, plus more if needed 

  • 2 teaspoons sea salt

  • Fresh cracked pepper to taste

Note: Adjust dressing ingredients to suit personal taste

INSTRUCTIONS 

  1. Place all ingredients into a large bowl pour the dressing over, toss and serve. 

Print Friendly and PDF

Recipe: One Pot Vegetable Tortellini Soup

When the stars align and your first attempt at developing a recipe works out and you can’t stop high-five-ing yourself (this speaks volumes, I don’t do high-🖐🏼’s) you grab the largest bowl you can find, fill it up and don’t be shy. Toast some crusty garlic sourdough bread and call it a day. ⁣

⁣I wonder if I can balance this bowl on my chest and eat it on the couch wrapped in a blanket? I KNOW! Things that make you go ….. hmmm

In the photo: A warm bowl of One Pot Vegetable Tortellini Soup⁣

In the photo: A warm bowl of One Pot Vegetable Tortellini Soup⁣

One Pot Vegetable Tortellini Soup

Prep Time: 10 minutes
Cook Time: 40 minutes
Total Time: 50 minutes
Serves: 4
Author: Mary Mammoliti / Kitchen Confession

INGREDIENTS 

  • 1/4 cup olive oil

  • 1 large Italian eggplant, unpeeled and ½-inch-diced

  • 1 medium onion, finely diced

  • 1 red bell pepper, seeded and diced

  • 1 medium carrot, peeled and diced

  • 3/4 cup cherry tomatoes, halved  

  • 1-2 garlic cloves, minced

  • 1 tablespoon tomato paste

  • 1 can red kidney beans, drained and rinsed 

  • 1 can black beans, drained and rinsed 

  • 4 cups reduced-sodium beef stock (you can add an extra cup or two if needed)

  • 2 cups crushed tomatoes, no sugar added and San Marzano tomatoes if you can find it. 

  • 2 cups diced zucchini 

  • 1 teaspoon dried oregano 

  • 1 teaspoon dried parsley

  • 1/2 teaspoon dried thyme 

  • 1/2 teaspoon crushed red pepper flakes

  • 1 bag frozen beef tortellini (no need to thaw)

  • 1 teaspoon sea salt to taste 

  • 1 parmigiano reggiano rind, optional (see notes)

INSTRUCTIONS

  1. Heat olive oil in a large pot or Dutch oven, over medium heat. Add the eggplant and sauté for 5 minutes, stirring frequently, until tender. Add a little more olive oil if the eggplant is sticking.

  2. Into the pot add the onions, red bell pepper, carrots, and cook for 6 minutes, stirring occasionally

  3. Add the tomato paste, and cherry tomatoes, garlic and continue to cook for 3 minutes.

  4. Add broth, tomato sauce, zucchini, red and black beans, oregano, parsley, thyme, crushed red pepper flakes, salt, pepper and parmigiano reggiano rind. Cover, bring to a simmer, reduce heat to low or medium-low to maintain a steady simmer, and allow to simmer for 15 minutes.

  5. Add tortellini, Cover and increase heat as needed to regain a simmer, and continue cooking for 10 minutes more, or until tortellini are al dente. Remove from heat and enjoy. 

NOTES:

You can keep this vegetarian by swapping out the beef to cheese tortelini, and the beef stock to vegetable broth. If you don’t have the parmigiano reggiano rind you can omit and top your bowl of soup with grated parmesan before serving. 

Print Friendly and PDF

Recipe: Homemade Stock/Broth

Homemade Chicken Stock for the soul......and my belly.  I love making a giant pot of stock and add a little into almost every dish I make. Broth is one of those staples that you always want to have on hand in your kitchen. It adds flavor, color, and richness to your cooking. 

Here's a guide for when you can get away with stock, instead of water.

  1. Rice and Other Grains (Farro, Barley, Etc.) Use stock to cook your grains.

  2. Ragu and Pan Sauces. Add a cup to a pot of tomato sauce or to deglaze pan sauces.  After sautéing chicken breasts in a skillet, deglaze with a splash of broth or stock to loosen the bits on the bottom of the pan. Adding stock gives your sauce a rich deep flavour.

  3. Braising pot roast or short ribs in beef stock will make them more flavorful.

  4. Soups and Chili 

IMG_3928.jpeg

Homemade Stock/Broth

Prep Time: 15 minutes 
Cook Time: 1 Hour 
Total Time: 1 hour 15 minutes 
Author: Mary Mammoliti | Kitchen Confession 

Ingredients

  • 2 tablespoons olive oil

  • 1 large red onion, diced

  • 2 medium carrots, peeled and sliced into 1/2 inch rounds 

  • 2 stalks celery, chopped into 1/2 inch pieces

  • 3 cloves garlic, chopped

  • 2 cups clean vegetable scraps - optional (I used 1 leek and 1 cup mushroom stems)

  • 2 cups cherry tomatoes

  • 1 tablespoon tomato paste

  • 1 bay leaf

  • 1/2 cup fresh parsley, chopped

  • 1 sprig fresh thyme (or 1/2 teaspoon dried thyme)

  • Kosher salt to taste

  • Fresh cracked pepper to taste

  • Add the bones of a rotisserie chicken for chicken stock

  • 11 - 13 cups cold water

Instructions

  1. In a large stock pot, sauté onion, carrots, and celery in olive oil over medium/low heat and stirring often for 3-5 minutes or until onions are translucent. Add additional olive oil as needed If your vegetables begin to stick to the pan.

  2. Add garlic, cherry tomatoes, tomato past, vegetable scraps if adding them and sauté for 1 additional minute.

  3. Add remaining ingredients, top with cold water and slowly bring to just under the boiling point. Adjust heat accordingly. You do not want to boil the stock, slowly heat the mixture to ensure optimal flavour extraction from the vegetables and simmer for one hour.

  4. Add salt and pepper to taste.

  5. Remove from heat, cool slightly and strain through a fine mesh strainer, cheesecloth or nut bag. Pour into a mason jar, seal the jar and refrigerate 3 to 4 days or you can freeze it and it will last for several months.

Notes

Add a chopped parsnip, mushrooms or a leek if desired.

Print Friendly and PDF

Recipe: Lemony Fresh Orzo Salad

To quote my nieces and nephew “FOMO is real” and I couldn’t agree more. It’s been so grey and rainy here in Toronto that I’m missing the sunshine. Where is it?  I bet it’s at a party! Did I miss the invite? Why hasn’t it been around? GHAAAA! I can’t take this! Let me check @instagram. I’m missing out on something great! Maybe. Umm, probably not. Who knows where it is and what it’s doing I just miss it and decided to stop obsessing. I’m taking matters into my own hands.  Did you know that adding lemon to just about any dish will give you instant sunshine? 

Give this beauty a try and let me know if it brightens up your day.

IMG_7930.jpeg

Lemony Fresh Orzo Salad

TOTAL TIME: 30 MINS
PREP TIME: 15 MINS
COOK TIME: 15 MINS
AUTHOR: Mary Mammoliti / Kitchen Confession

INGREDIENTS:

  • 12 ounces uncooked orzo

  • 2 large handfuls fresh arugula, chopped

  • 1 (15-ounce) can chickpeas (garbanzo beans), rinsed and drained

  • 1 English cucumber, diced

  • 1 cup frozen corn, thawed

  • 1 cup roughly-chopped fresh basil leaves

  • 1/2 head radicchio, roughly-chopped fresh

Lemony Dressing:

  • 2 lemons, juiced

  • 1 tablespoon rice wine or white vinegar

  • 1/2 tablespoon Dijon mustard

  • 1 garlic clove, finely minced

  • 1/2 cup olive oil

  • 1 teaspoon sea salt and freshly-cracked black pepper, to taste

  • optional: 1/2 cup crumbled feta or goat cheese

DIRECTIONS:

  1. Cook the pasta in a large stockpot of generously-salted water until al dente, according to package instructions.  Drain pasta then rinse thoroughly in a strainer with cold water until the pasta is chilled.  Transfer to a large mixing bowl.

  2. Add all the lemony dressing ingredients to a medium sized bowl and whisk for 1-2 minutes, or until the dressing begins to look creamy. Set aside.

  3. Add the remaining ingredients to the mixing bowl. , pour dressing over and toss to combine.  Taste, and season with extra salt and pepper, if needed.

  4. Serve immediately.  Or cover and refrigerate for up to 3 days.

NOTE:

If you do not use all the dressing store in a sealed jar in your fridge for up to one week.

Print Friendly and PDF

Recipe: Creamy Cauliflower Garlic Mash

Comment below if you love mashed potatoes!

What if I told you this wasn’t mashed potatoes. What if I said this warm plate of creamy garlic mash was actually made of cauliflower. Would you try it? Before you rethink your decision, give this recipe a try. Have a heaping spoon with some braised short ribs, or add it as a side with your Thanksgiving feast and lighten things up.

WARNING: Following the consumption of this Cauliflower Garlic Mash there may be sudden outbursts of joy, excessive smiling, and out of control requests for more.

Photo Description: Creamy Cauliflower Garlic Mash in a square serving dish on top of a white fringe cloth and 2 sunflowers in the bottom left corner.

Photo Description: Creamy Cauliflower Garlic Mash in a square serving dish on top of a white fringe cloth and 2 sunflowers in the bottom left corner.

Creamy Cauliflower Garlic Mash

 PREP TIME: 15 minutes
Cook TIME:
15 minutes
TOTAL TIME:
30 minutes
SERVES: 4
AUTHOR:
Mary Mammoliti / Kitchen Confession

INGREDIENTS

1 large head of cauliflower, cut into florets
4 cups chicken broth
4 cups water (more if needed to cover florets)
1 tablespoon unsalted butter
3 tablespoons extra virgin olive oil
2 large garlic cloves, minced
¼ cup 2% milk
salt and black pepper to taste

DIRECTIONS

  1. Place the cauliflower florets in to a large stock pot and cover with the chicken broth and water. Cook for 8-12 minutes or until fork tender. Drain and keep the in the colander and move onto next steps. You want to get as much water as possible out of the cauliflower.

  2. Pour the olive oil into the stock pot and sauté the garlic until fragrant. Remove from heat and return the cooked cauliflower back into the stock pot, add milk and butter. Using an emersion blender purée until smooth and creamy. Taste for salt and pepper.

  3. Garnish with chopped parsley, drizzle extra virgin olive oil over top and serve warm.

NOTES

Refrain from adding additional butter and/or milk to the mash, it will thin out too much.

Print Friendly and PDF

Recipe: Breakfast Hash in 30 Minutes!

I thought I would bring you a little BREAKFAST HASH on this gorgeous sunny morning. Not only does it taste fantastic, this nutrient packed meal clocks in at 30 minutes total cook time! Oh YAAAASSSSSSS! AND don’t forget to include this simple and easy meal to your weekly meal prep recipe box. This recipe should take centre stage on every brunch table, and serve it directly from the baking sheet - family style. Honestly, this quick and simple meal will tantalize your tastebuds, warm your belly, and have you dancing all the way to the kitchen sink when you're done. It's THAT GOOD! 

This dish surpassed all EGG-spectations!  I'm curious, do you hate or love eggs? Sunny side up or scrambled? Comment below and let me know what makes you egg-static about eggs. You all know how much I love a good pun :) 

Photo Description: 1 Pan dinner-large rimmed baking sheet filled with diced sweet potatoes, red bell pepper, broccoli florets, sweet corn, black beans and 6 single sunny side up eggs baked on top of the veggies

Photo Description: 1 Pan dinner-large rimmed baking sheet filled with diced sweet potatoes, red bell pepper, broccoli florets, sweet corn, black beans and 6 single sunny side up eggs baked on top of the veggies

Breakfast Hash

PREP TIME: 5 minutes
COOK TIME: 25 minutes
TOTAL TIME: 30 minutes
SERVES: 3 large or 6 small
AUTHOR: Mary Mammoliti / Kitchen Confession

INGREDIENTS

2 medium sweet potatoes, peeled and diced (Read Tips below for size)
1 head of broccoli, florets
1 medium red bell pepper, diced
1 (15-ounce) can black beans, drained and rinsed
1 cup frozen corn kernels
3 tablespoons olive oil
2 cloves garlic, minced
1 teaspoon chili powder
1/2 teaspoon ground cumin
1/2 teaspoon smoked paprika
Salt and pepper to taste
Olive Oil, to coat the sheet pan
6 large eggs

DIRECTIONS

  • Adjust your oven rack in the middle of the oven and heat to 425°F. With a little olive oil lightly coat a rimmed baking sheet.

  • Place the sweet potatoes, broccoli florets, bell pepper, black beans, and corn in a single layer on the prepared baking sheet. Add the 3 tablespoons olive oil, garlic, chili powder, cumin, and paprika. Season with salt and pepper and gently toss to combine.

  • Bake for 15 to 18 minutes stirring halfway through, until the sweet potatoes are tender. Remove the pan from the oven and create 6 wells in the vegetables. Gently crack an egg into each well, keeping the yolk intact; season the eggs with salt and pepper.

  • Return the pan to the oven and bake 7 to 9 minutes, or until the egg whites have set.

  • Enjoy!

TIPS: 

You can enjoy this dish immediately or portion it out into your to-go containers and pack it up and you have breakfast for the week. 

When chopping your veggies, try and cut them to bite size pieces and keep them roughly the same size to ensure even cooking throughout your dish. 

To make this dish even easier, buy pre-cut vegetables from you local grocery store and cut back even more on your prep time.

The olive oil can be substituted out for avocado oil or grape seed oil if you prefer. 

Leftovers can be stored in an airtight container and refrigerated for up to 5 days.

Print Friendly and PDF

Recipe: Kung Pao Chickpeas and Quinoa Lunch Bowl

Recipe: Kung Pao Chickpeas and Quinoa Lunch Bowl

I love a good fridge clean out. It always produces some of my favourite meals. Opening the refrigerator door, scanning shelves and drawers for ingredients that will make up your meal.

Print Friendly and PDF

Rant: Detox, Destress, Drink This, Eat That - What Does it All Mean?

Rant: Detox, Destress, Drink This, Eat That - What Does it All Mean?

Have you ever wondered why we're told to eat this, drink that, no fat, eat fat, no carbs, eat the right carbs. Why? Seriously, I'm asking because I'm more confused now than ever before. I can’t keep up! 

Print Friendly and PDF

Recipe: Cranberry Eggnog Scones

Recipe: Cranberry Eggnog Scones

Today on Kelly and Company we talked about the post holiday aftermath left in our pantries and refrigerators. Dealing with the plethora of odds and ends of food occupying prime real estate in our refrigerators. Sharing with you a few ideas and recipes ….

Print Friendly and PDF

Recipe: Quick and Easy Mini Chickpea Patties and Tahini Sauce

Recipe: Quick and Easy Mini Chickpea Patties and Tahini Sauce

Happy Monday! Today was a whirl wind of a day. I've done so much but yet I feel like I haven't accomplished anything. With zero time to cook a full meal this is when my pre-made frozen meals come in handy.

Print Friendly and PDF