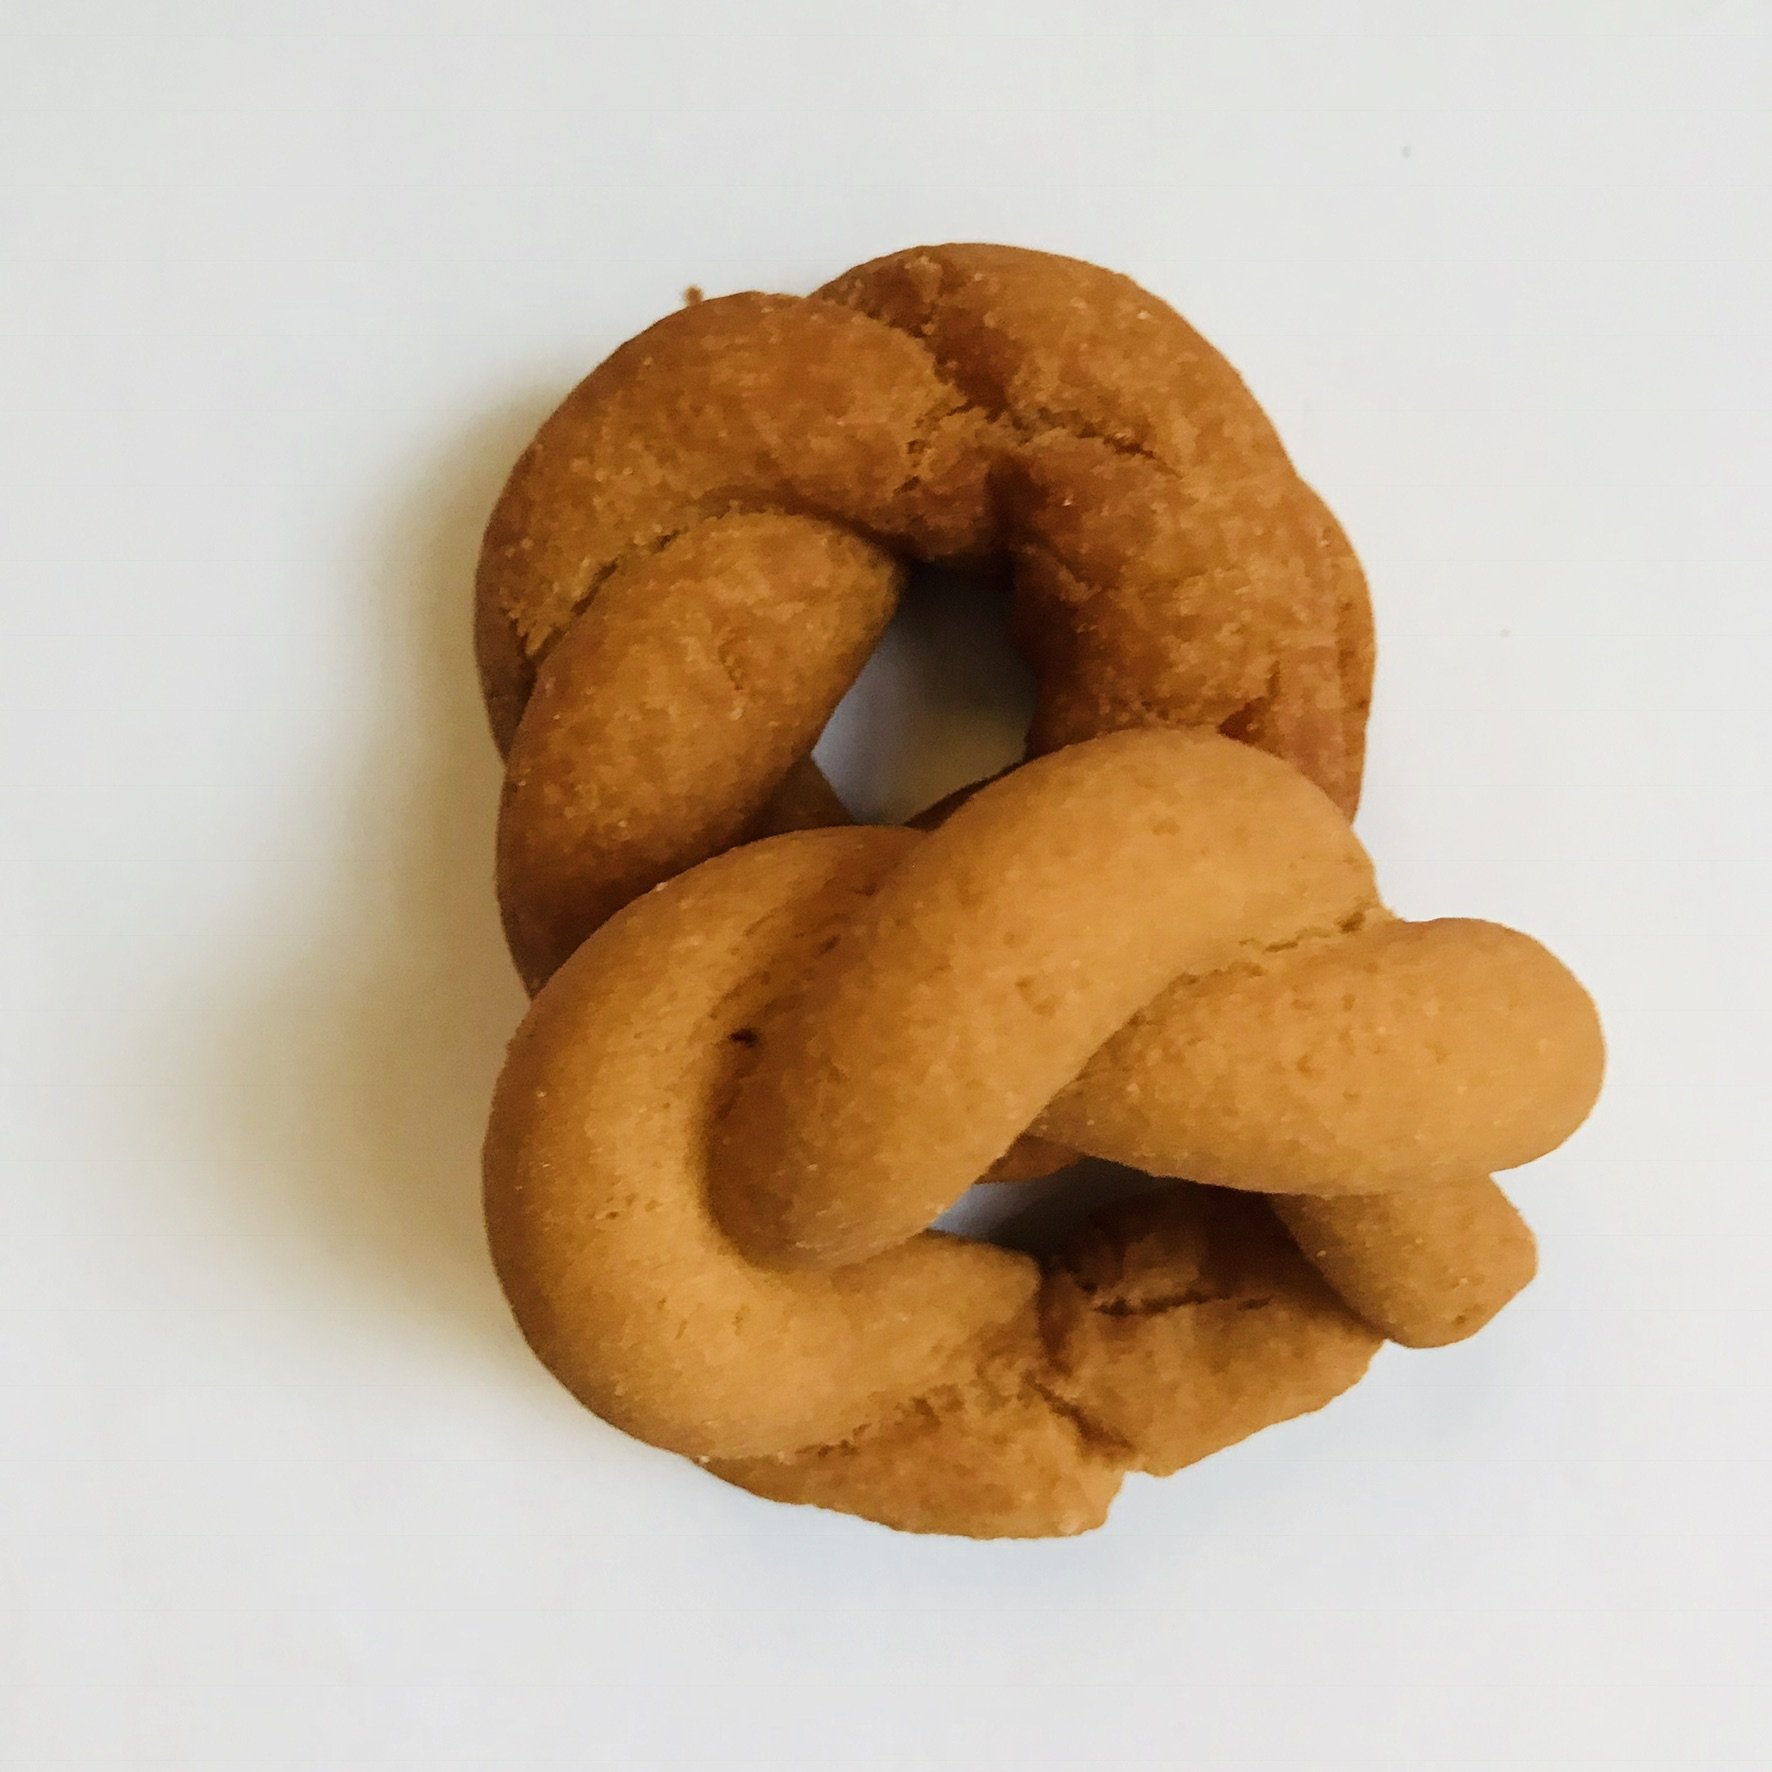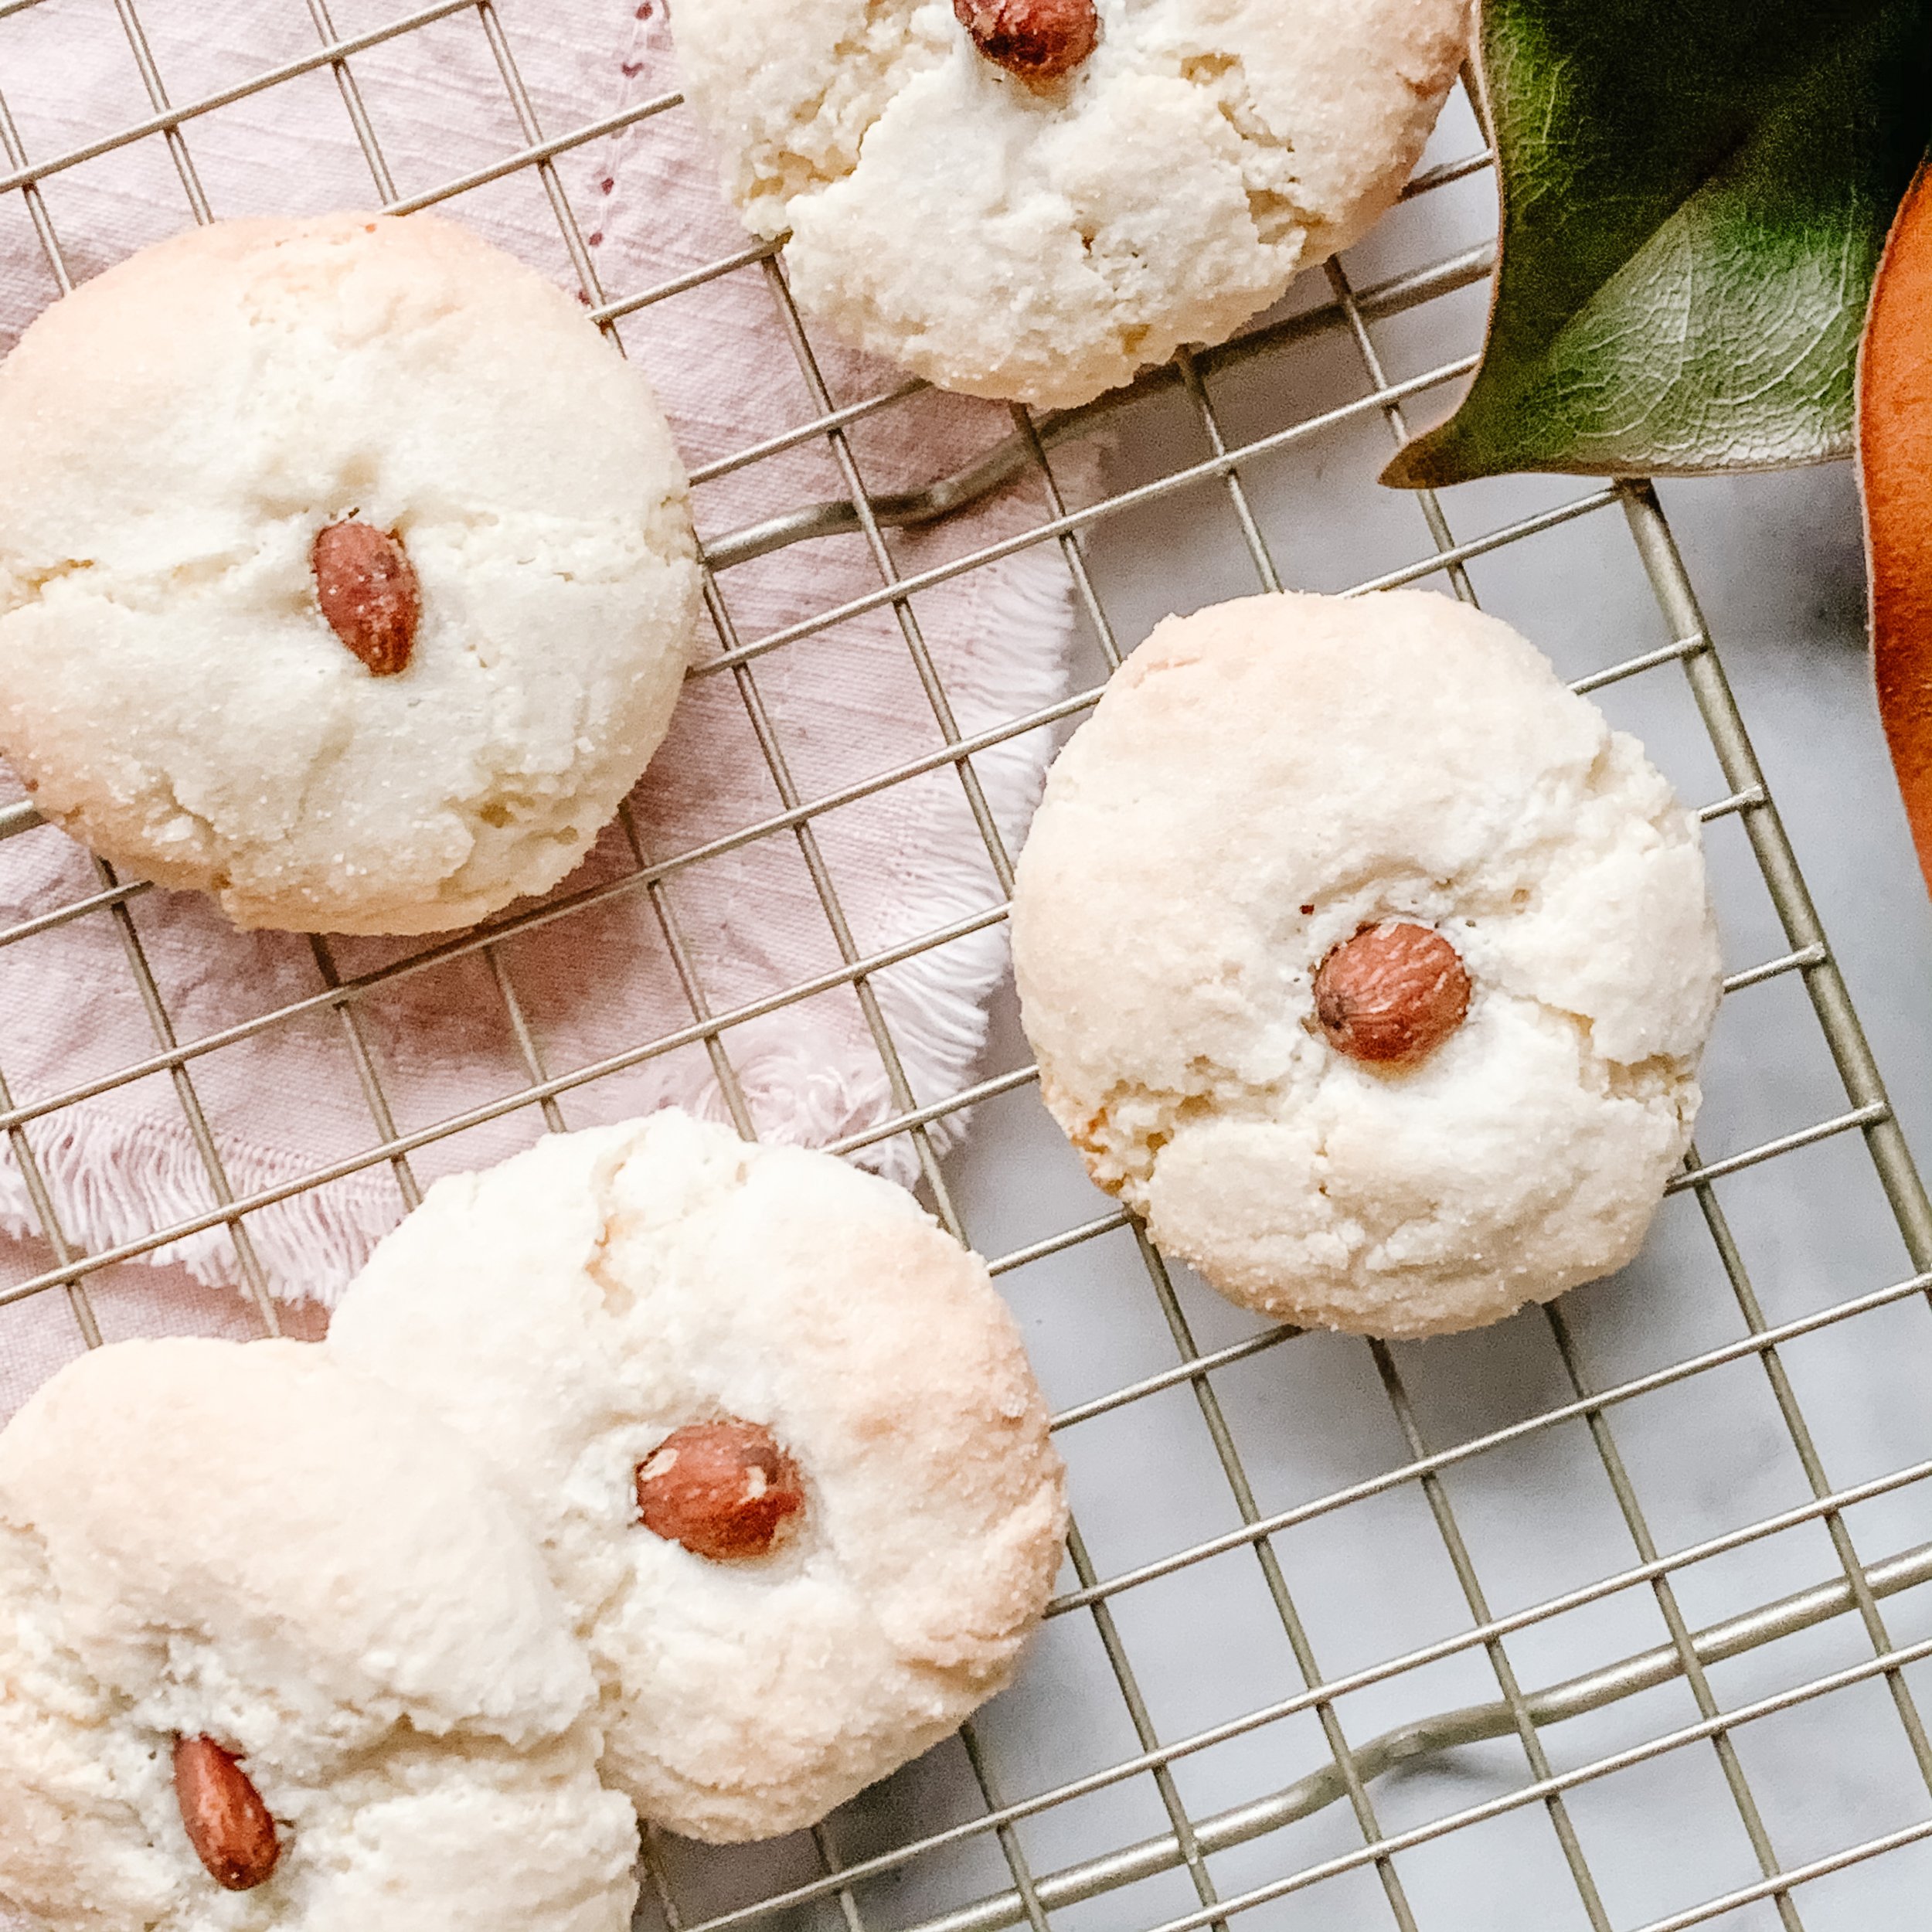


'Tis the season to indulge in the warmth of the holidays, and what better way to celebrate than with the timeless allure of ginger crackle cookies? These chewy, spicy, and downright delicious treats have earned their stripes as a Christmas classic, but truth be told, they're a year-round sensation that transcends seasonal boundaries.
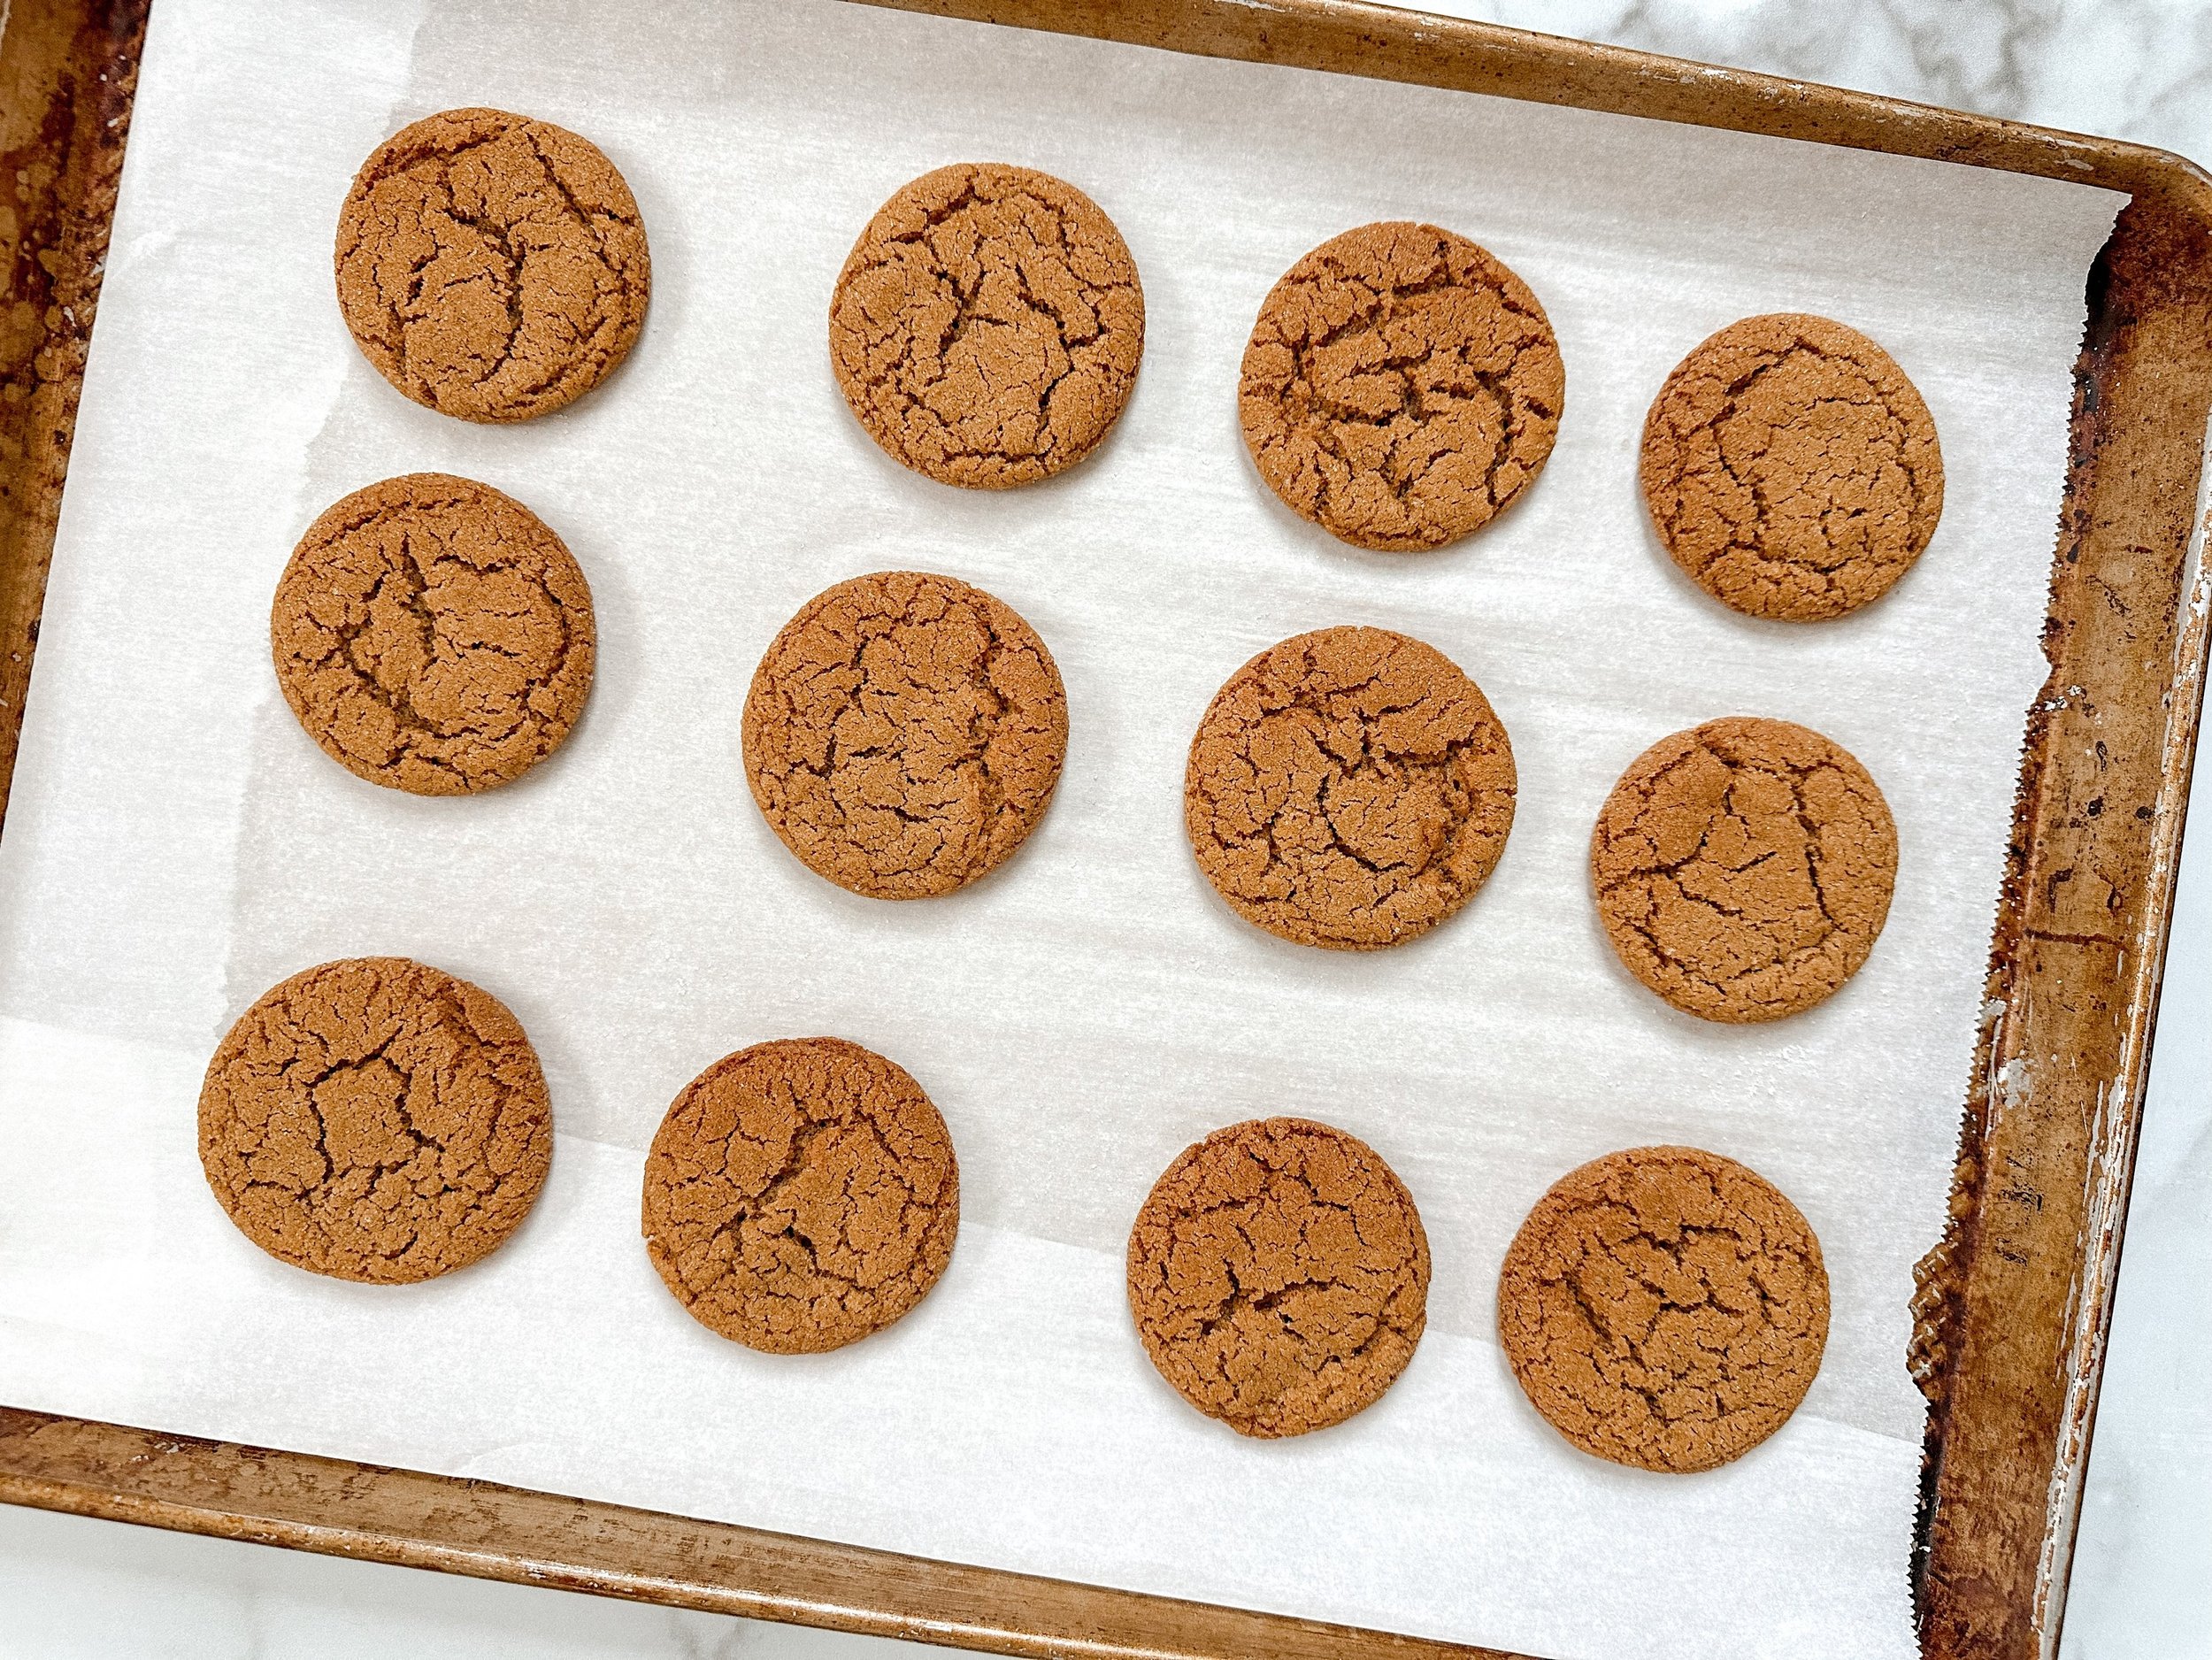
Ginger Crackle Cookies
Total Time: 1 hour
Servings: 40 cookies
Ingredients
2 1/4 cups all-purpose flour
2 1/4 tsp ground ginger
1 1/4 tsp baking soda
1 tsp cinnamon
1/4 tsp ground cloves
1/2 tsp pink himalayan salt (any salt will work)
3/4 cup unsalted butter , softened at room temperature
1/2 cup granulated sugar
1/2 cup packed light brown sugar
1 egg at room temperature
1/3 cup molasses
Extra
1/4 cup granulated sugar for rolling the dough balls

Instructions
Preheat the oven to 350 degrees F. Line 2 rimmed baking sheets with parchment and set aside.
In a medium bowl, whisk together flour, ginger, baking soda, cinnamon, cloves and salt.
In the bowl of a stand mixer using the paddle attachment, beat butter, ½ cup granulated sugar and brown sugar on medium until smooth, about 3 minutes. Beat in egg and molasses until combined. Gradually add the flour mixture to the bowl on low and beat until just combined.
Using a 1-tbsp cookie scoop portion out the dough and roll into balls. Pour that extra ¼ cup granulated sugar into a shallow bowl and roll the dough balls in the sugar to coat and arrange 2 inches apart on the prepared baking sheets.
Into the oven and bake until edges are lightly browned, about 10 min. Let cool for 5 min, and transfer to a cooling rack.